I burned my first Zavagouda.
Not just a little brown (charred,) sad, and stuck to the pan.
You’ve probably seen it online. That golden, crackling crust. The steam rising when you cut in.
The smell that makes people hover in your kitchen.
But what if you’re not there yet?
What if every time you try Baking Zavagouda, it’s either too dry or too dense (or) worse, it doesn’t rise at all?
I’ve been there. Tried seven recipes. Scoured forums.
Messed up three batches before I figured out what actually works.
This isn’t theory. It’s what I do now (every) time. No guesswork.
No last-minute panic.
You’ll learn how to mix without overworking. When to stop kneading (yes, it matters). How to tell if your dough is ready.
Not by the clock, but by how it feels.
No fancy tools. No obscure ingredients. Just clear steps.
Real results.
You’ll get a crisp crust and a tender crumb. Every time.
That soft, rich center? It’s not luck. It’s technique.
And you’ll have it.
By the end of this, you won’t just bake Zavagouda.
You’ll trust yourself to bake it right.
What Zavagouda Really Is
Zavagouda is a savory baked pastry (think) flaky crust wrapped around a rich, cheesy, herb-flecked filling. It’s not fancy. It’s not French.
It’s just honest food that happens to bake up golden and smell like home.
I first tried it at a friend’s kitchen table in Minsk. (She rolled the dough by hand. No mixer.
Just flour, butter, and stubbornness.)
The outside crisps. The inside stays soft and slightly gooey. You taste dill, sharp cheese, maybe a whisper of garlic.
Nothing fights for attention.
Baking Zavagouda feels like making something real. Not a project, not a trend. You can swap in feta or potatoes or even sautéed onions.
It bends to what you’ve got.
People serve it at Sunday dinners. Or pull it from the oven midweek when “comfort” is the only ingredient on the list.
You’ll love it because it works. Not perfectly. Not Instagrammably.
Just works.
Want the full recipe and tips? Start with the Zavagouda page.
Zavagouda Starts Here
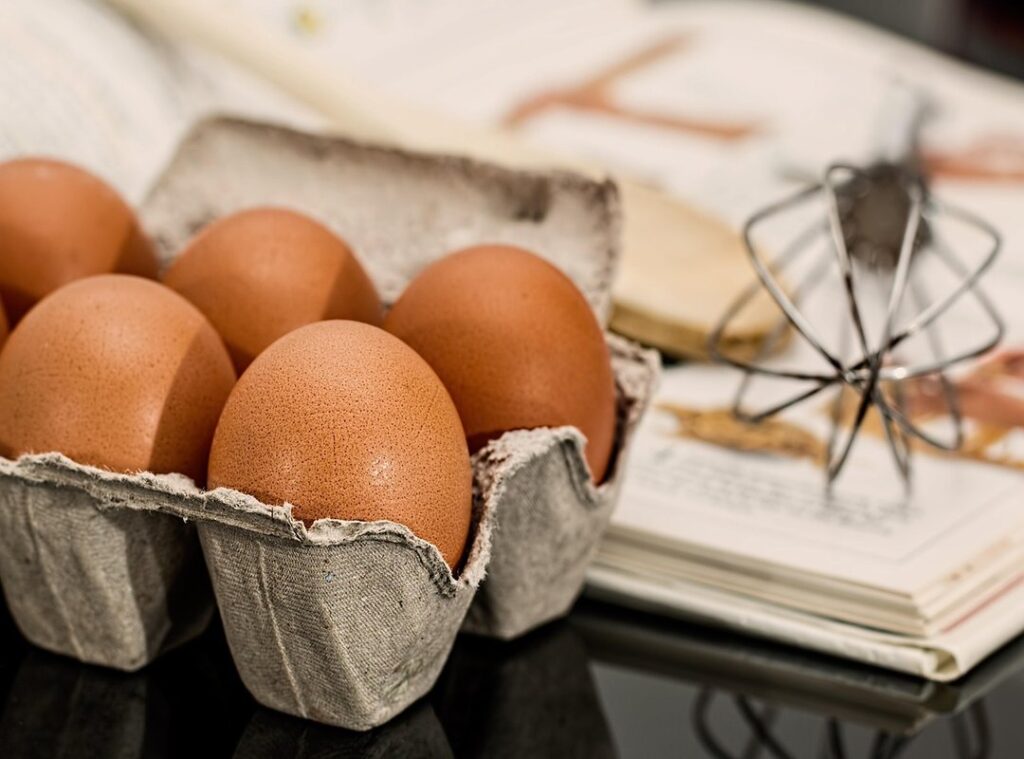
I grab the same five things every time. Baking dish. Mixing bowls.
Whisk. Measuring cups and spoons. Parchment paper.
That’s it. No fancy gear. No stand mixer.
Just tools that work.
You need flour. Not all-purpose. Whole wheat or rye (it) matters. Cheese?
Sharp, aged gouda. Not the pre-shredded stuff (it’s coated in anti-caking junk). Eggs.
Milk or plain yogurt. Baking powder. A pinch of thyme or caraway if you like it earthy.
Buy cheese fresh. Grate it yourself. It melts better.
It tastes like something real. Eggs should be room temp. Take them out fifteen minutes early.
Don’t skip this. Cold eggs make batter seize.
Measure everything. Exactly. Baking Zavagouda isn’t cooking. It’s chemistry. A tablespoon too much flour dries it out.
Too little leavening and it stays flat. Use dry measuring cups for flour. Spoon and level.
Don’t scoop straight from the bag.
Why does this matter? Because gouda is expensive. You don’t want to waste it on a dense brick.
Is your whisk bent? Replace it. A warped whisk doesn’t blend evenly.
Parchment paper isn’t optional. It saves your dish. And your sanity.
You’re not baking a cake. You’re making something hearty. Something that holds up to coffee or pickles.
Did you check the expiration date on your baking powder? Do it now. Old powder = sad Zavagouda.
How to Mix Zavagouda Batter (Without Screwing It Up)
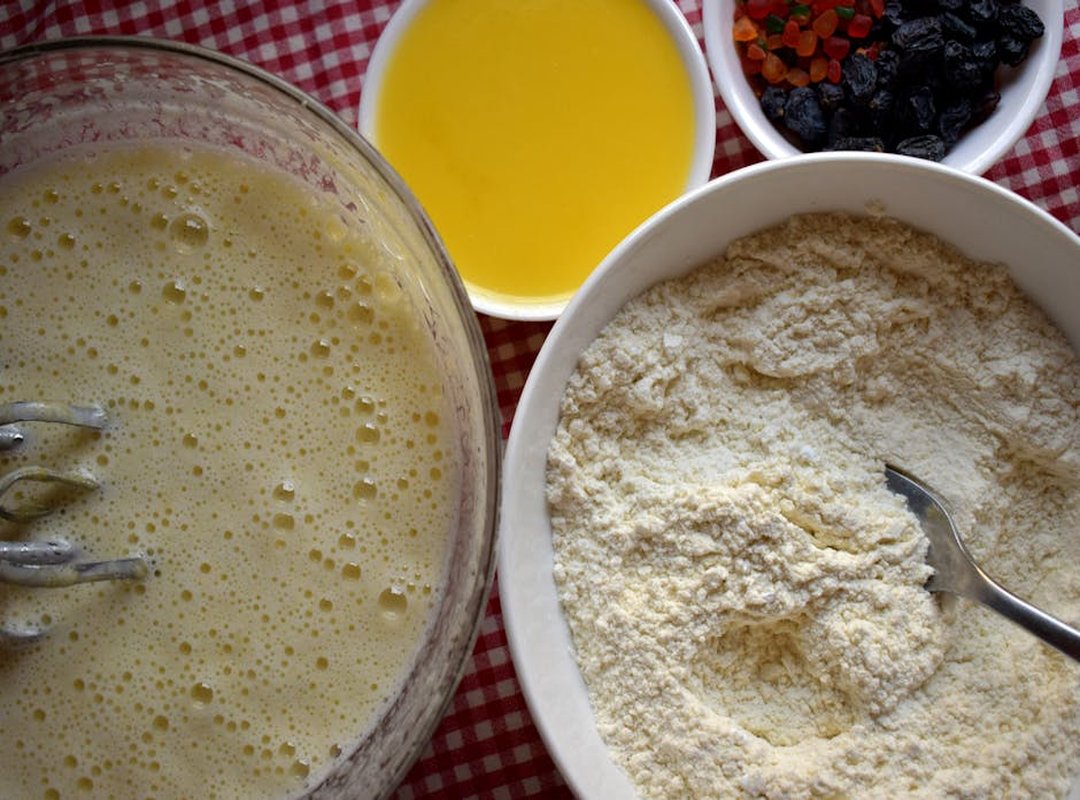
I dump flour, baking powder, and salt into a bowl. No sifting. No fancy whisking.
Just stir once or twice until it looks even.
Then I make a well in the center. I crack eggs in. Pour in yogurt and oil.
I mix with a fork (not) a whisk (until) just combined. Lumps are fine. Actually, they’re good.
Now the fun part: cheese and herbs. I tear Zavagouda by hand. It’s crumbly, salty, sharp.
(Yes, that’s why it works.)
I toss it in with chopped chives or dill. Stir just enough to scatter it through.
Don’t overmix. Seriously. Stop when you see streaks of cheese (not) when it’s smooth.
Overmixed batter = tough, dense results.
The batter should be thick but pourable. Like pancake batter, not glue. If it’s too stiff, add a splash of milk.
Too thin? A spoonful of flour.
Taste it. Yes, really. Raw egg is risky, but if your eggs are pasteurized (or) you skip the egg entirely (you) can pinch a bit and adjust salt or herbs now.
Not later.
Want more? Try caramelized onions. Or swap in Gouda if you can’t find Zavagouda.
But honestly? Just Buy Zavagouda. It’s worth it.
Baking Zavagouda isn’t magic.
It’s mixing smart, stopping early, and trusting the cheese.
Golden Zavagouda Is a Lie
I grease the pan. Not with butter. I use oil.
Butter burns. You’ll get brown edges and a raw center. Every time.
I line it with parchment paper. No flouring. Flour makes crusts tough.
You don’t want tough.
I pour the batter in one slow stream. Then I tilt the pan. Let it settle itself.
Don’t stir it in. Don’t spread it with a spatula. That’s how you get air pockets.
Bake at 325°F. Not 350. Not 375. 325.
For 48 minutes. Set a timer. Not 45.
Not 50. 48.
It’s done when the top springs back lightly when you press it. Not firm. Not jiggly.
Light.
Toothpick? Only in the center. Not the edges.
Pull it out clean, no wet batter clinging. If it’s gummy, bake five more minutes. Then check again.
Uneven browning? Rotate the pan halfway through. Your oven lies to you.
Undercooked center? Your oven runs hot. Lower temp next time.
Or your batter was too cold going in. Let it sit on the counter 10 minutes before baking.
Let it cool in the pan for 15 minutes. Then lift it out (parchment) makes this easy. Cool fully on a rack.
Slice only when it’s room temp. Warm slices crumble.
Baking Zavagouda isn’t about patience. It’s about precision and ignoring old wives’ tales.
If you’re still wondering why it behaves so oddly, read the Origin of zavagouda.
You Made It Taste Like Home
I baked Baking Zavagouda once and burned the bottom. Twice I forgot the garlic. Third time?
It cracked down the middle like it was judging me.
You didn’t do that. You followed the steps. You watched the oven.
You waited for that slow golden puff. Not too fast, not too shy.
That’s why it worked.
You wanted it right.
Not “close enough.”
Not “good for homemade.”
You wanted that taste. The one that sticks to your ribs and makes people ask for the recipe twice.
It’s sitting there. Warm. Slightly crisp at the edges.
Soft and savory in the center.
Cut a thick slice. Let it cool just long enough to hold its shape. Then eat it with your hands if you want to.
Next time? Try smoked gouda. Or skip the thyme.
Or add black pepper right on top before baking.
But first (go) eat what you made. Right now. Before it cools too much.
And when you do? Notice how quiet the kitchen gets. That’s not silence.
That’s satisfaction.
Ready to bake it again? Grab your bowl. Pull out the cheese.
Start today.
 Head of Culinary Research & Content Strategy